How to Measure Kitchen Cabinets
Measuring kitchen cabinets can feel overwhelming, especially when one missed detail leads to ordering mistakes, poor fit, or costly delays. You’re not alone—many homeowners struggle to know what to measure and how precise their notes need to be.
This guide will help you measure kitchen cabinets with confidence before choosing the right products for your space.
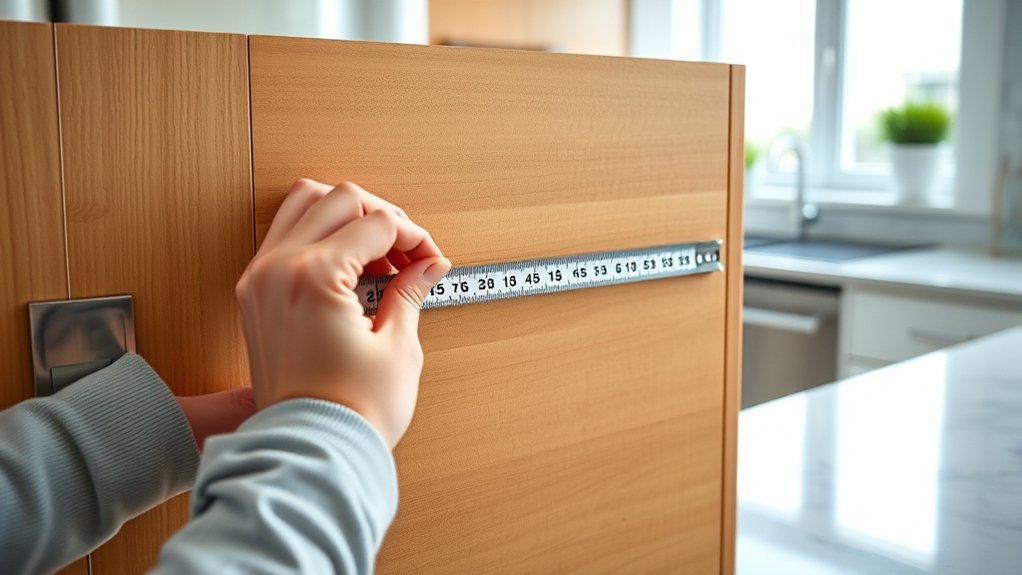
To measure kitchen cabinets, gather a tape measure, pencil, paper, level, and step stool. Sketch the room, then record each wall, corner, ceiling height, door, window, appliance, outlet, pipe, and vent.
Measure cabinet width, height, depth, toe-kicks, fillers, and gaps at multiple points, using 1/8-inch increments. Check walkway widths, door swings, and appliance clearances.
Recheck every dimension against manufacturer specifications, and keep organized notes for ordering and installation details you’ll want to confirm.
Key Takeaways
- Gather a tape measure, pencil, notepad, level, and step stool before measuring your kitchen.
- Sketch the kitchen layout, marking walls, corners, doors, windows, appliances, plumbing, outlets, and obstructions.
- Measure each wall, opening, and ceiling height at multiple points, recording the shortest or smallest dimension.
- Record existing cabinet widths, heights, depths, toe-kicks, fillers, gaps, and decorative panels separately.
- Check walkway clearances, door swings, appliance access, uneven surfaces, and utility locations before ordering cabinets.
Gather Your Measuring Tools
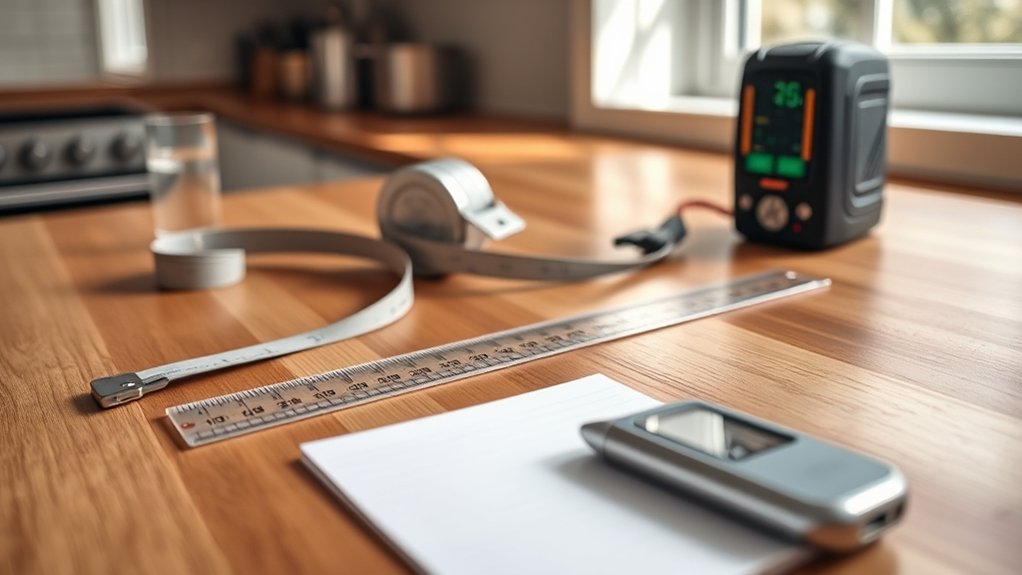
Before measuring your kitchen cabinets, gather a tape measure, pencil, notepad, level, and step stool. Choose tools that help you work accurately and safely.
A sturdy measuring tape should extend far enough to span cabinet walls, countertops, and openings without bending easily. Select one with clear markings, preferably in both inches and centimeters, so you can record precise dimensions.
Keep a sharp pencil nearby for labeling each measurement immediately. Use a notepad with plenty of pages, or prepare a dedicated measurement sheet for organized notes.
A level helps you check whether surfaces and cabinet runs sit evenly, which can affect your readings. Bring a step stool if upper cabinets exceed comfortable reach; never stretch or balance on furniture.
Before you begin, check that your tape retracts smoothly, your pencil writes clearly, and your level’s bubble moves freely. These simple preparations reduce interruptions and help you collect dependable measurements from start to finish.
Check every tool before measuring to avoid interruptions and ensure accurate, dependable results from start to finish.
You’ll work more confidently when every tool remains within reach.
Sketch Your Kitchen Floor Plan
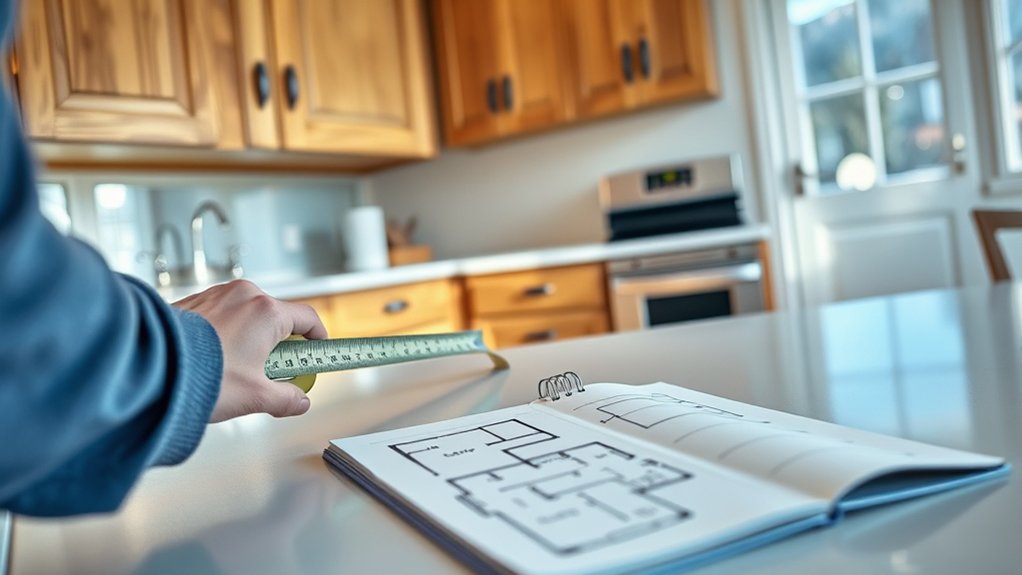
With your tools ready, sketch a simple floor plan before recording cabinet dimensions. Use graph paper or a tablet, and choose a clear scale, such as one square representing six inches.
Draw the kitchen’s overall shape from above, leaving space for doors, windows, and openings. Mark fixed features, including appliances, sinks, islands, and built-in fixtures, but don’t measure their exact sizes yet.
Add labels to each feature so you’ll recognize them when you transfer measurements later. Use arrows to show door swings and note which way appliances open.
You can also mark walkways and work zones to visualize how cabinet placement may affect movement. Keep the drawing neat, since you’ll use it as a reference throughout the project.
This stage isn’t about decorating, so skip color schemes and lighting ideas for now. Focus on creating an accurate layout that captures every obstacle and connection.
Leave generous room beside each item for dimensions and notes.
Measure Walls, Corners, and Ceiling Height
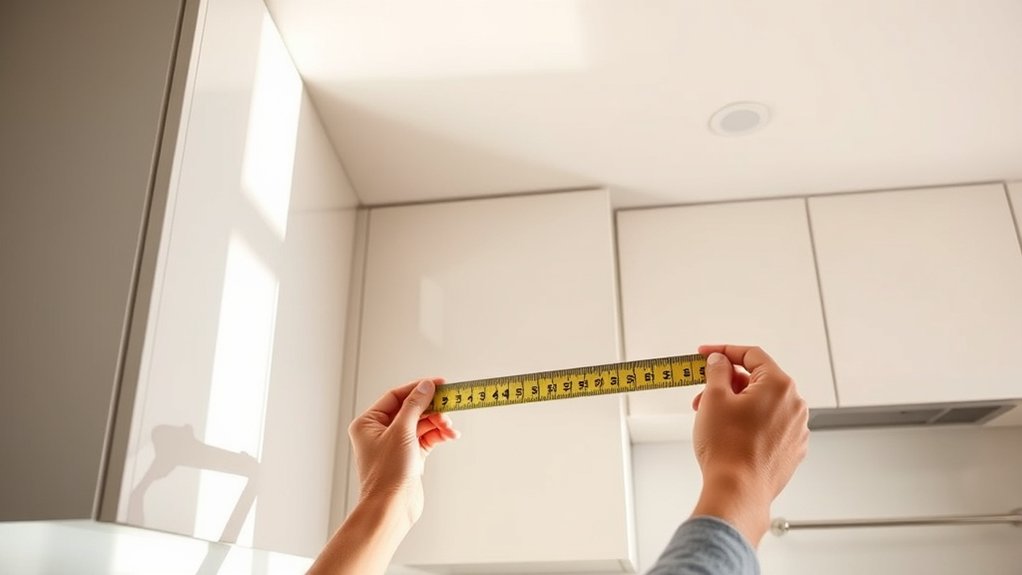
Measure each wall carefully, and note the locations of doors, windows, and other obstacles. Be sure to account for corner spaces so your cabinet layout fits properly. Finally, record the ceiling height to help guide cabinet placement and sizing.
Measure Wall Lengths
Start by measuring each wall from corner to corner along the floor, recording the distance to the nearest 1/8 inch. Keep your tape level and measure at cabinet height as well, since walls may vary slightly from floor to ceiling.
Record every measurement on a simple sketch, labeling each wall clearly. Note doors, windows, appliances, outlets, and plumbing along each wall, including their distances from nearby edges.
These details help you confirm that your planned cabinets will fit and that work zones remain practical. Take measurements in several places to identify uneven floors or bowed walls.
Accurate dimensions also support Wall painting estimates and Tile selection. Measure the ceiling height from the finished floor to the ceiling in multiple locations, recording the shortest measurement for planning upper cabinets and trim.
Account for Corners
Account for each corner by measuring from the nearest wall edge to the corner and noting whether it’s square, angled, or obstructed. Check both sides of every corner, since walls may not meet evenly or may include trim, pipes, outlets, or appliances.
Measure any obstruction’s depth and distance from the floor and adjacent wall, then mark it clearly on your sketch. These details help you choose suitable corner cabinet configurations and prevent doors, drawers, and handles from colliding.
If a corner isn’t square, record the angle or leave a note for your cabinet designer. An angled corner may require custom fitting, a diagonal cabinet, or angled shelving rather than a standard unit.
Also measure the clear wall space beside each corner to confirm neighboring cabinets will fit and open properly without blocking walkways.
Record Ceiling Height
After noting each corner, record the ceiling height at several points along the walls. Use a steel tape measure, laser measure, or measuring stick to check from the finished floor to the ceiling.
Measure near corners, in the center of each wall, and beside tall cabinets. Write every result in your notes, even if the numbers seem identical. Uneven floors or ceilings can change your cabinet options and affect how you install crown molding.
Check for soffits, dropped ceilings, beams, and other obstructions while measuring. Note their height, depth, and location relative to each wall.
Also mark lighting fixtures, vents, sprinklers, and smoke detectors that could interfere with upper cabinets. If your ceiling height varies considerably, use the shortest measurement for planning and tell your cabinet designer before ordering.
Measure Doors, Windows, and Openings
Next, locate every door and window along the kitchen walls. Measure the width of each opening, and note the clearance needed for the doors, windows, and cabinet access.
Locate Doors and Windows
Mark every door, window, and other wall opening on your sketch before measuring cabinet runs. Note each opening’s location in relation to the nearest corner, adjacent wall, and finished floor.
Record door placement, including the hinge side, swing direction, and whether the door opens into the kitchen. Identify windows by their position along the wall.
Note window dimensions, such as height and distance from the floor, ceiling, and nearby corners. Mark pass-throughs, arches, vents, utility access panels, and openings to adjoining rooms.
Include trim, casings, sills, and baseboards because they can affect cabinet placement and clearance. Use a consistent reference point, such as one corner, and label every opening clearly.
Take photos to verify your sketch later, especially where walls, trim, or obstructions make locations difficult to interpret.
Measure Opening Widths
Measure each door, window, and wall opening from edge to edge at the finished surface, recording the width at the top, middle, and bottom.
Use a rigid steel tape for consistent measuring techniques, and keep its hook firmly against one edge while you read the opposite edge. Check that the tape stays level and doesn’t bow across the opening.
For wider openings, have someone hold the tape or use a laser measure, then verify the result with a second method.
Before you begin, confirm your tool calibration by checking the tape’s markings or comparing the laser against a known distance.
Write every measurement clearly in inches, labeling the opening and its location. If the readings differ, record all three values and note which point produced each measurement.
Record Clearance Space
With the opening widths recorded, check the clearance around each door, window, and opening. Measure from the opening’s edge to nearby walls, corners, ceilings, and appliances.
Note obstacles such as trim, molding, radiators, switches, outlets, and vents. Record the height and depth of any obstruction, along with its distance from the floor or adjacent wall.
For doors, measure the swing area and confirm that cabinets won’t block movement. For windows, document sill height, casing width, and how far the window projects into the room.
Mark every measurement directly on your sketch, and label each opening clearly. Include space needed for drawer operation, appliance access, and hardware selection.
These details help you plan cabinet placement, protect the cabinet finish, and prevent doors or drawers from colliding during everyday use. Recheck tight areas before ordering.
Map Appliances, Plumbing, and Outlets
Before finalizing your cabinet layout, locate every appliance, plumbing connection, and electrical outlet on your wall measurements. Mark each feature with its exact distance from the nearest corner and finished floor.
> Map every appliance, plumbing connection, and electrical outlet precisely before finalizing your cabinet layout.
Accurate appliance placement helps you plan clearances for the refrigerator, range, dishwasher, microwave, and other equipment. Note each appliance’s width, depth, height, door swing, and required ventilation space, using the manufacturer’s specifications when available.
Identify plumbing locations for the sink, dishwasher, refrigerator water line, and any gas connection. Measure pipe centers, supply lines, shutoff valves, drain openings, and protrusions from the wall.
Record outlet positions, switch locations, dedicated circuits, and receptacles hidden behind or beside appliances. Include gas valves, vents, and lighting controls that could affect cabinet installation.
Photograph the walls and label every measurement clearly. If you’ll relocate utilities, mark both current and proposed positions, then confirm changes with a licensed professional before ordering cabinets or cutting panels.
Keep these measurements accessible during design and installation.
Record Existing Cabinet Sizes and Layout
Measure the width of each cabinet and note its height, including any gaps or fillers. Then sketch the current layout, labeling the cabinets, corners, and openings so you can plan accurately.
Measure Cabinet Widths
Record each cabinet’s width from edge to edge, measuring across the face frame or cabinet box—not the countertop or trim. Use a tape measure and keep it level for accurate results.
Measure individual cabinets separately, even when several units appear joined, because widths may vary. Record each measurement in inches, rounding only to the nearest fraction your project requires.
For cabinets with doors, measure the cabinet structure, not the door overlay or handles. Note fillers, end panels, and open shelving as separate pieces so your layout reflects every section.
Label each measurement by location, such as left wall, sink base, or corner unit. Don’t estimate from standard sizes.
Although cabinet depth and cabinet height matter elsewhere, focus here on each unit’s true horizontal width. Sketch the layout as you measure.
Note Cabinet Heights
Next, note the height of each cabinet from the floor or countertop to its highest fixed point, measuring the cabinet box rather than doors, handles, or decorative trim. Use a tape measure and record measurements to the nearest 1/16 inch.
For wall cabinets, measure from the cabinet’s bottom to its top. For base cabinets, measure from the floor to the top of the box, excluding the countertop.
If cabinets vary, note each cabinet height separately rather than assuming they match. These details help you order accurately and plan replacements.
- Record wall cabinet height and depth.
- Measure base cabinet height without countertops.
- Note tall cabinet height from floor to top.
- Mark unusual gaps, fillers, or height differences.
Label each measurement clearly as you note cabinet sizes. Include the measuring date and units so you’ll reference consistent information later.
Sketch Existing Layout
Sketch the existing kitchen layout on graph paper, showing each cabinet’s position, width, height, and depth. Draw walls, corners, windows, doors, appliances, and plumbing fixtures to create an accurate reference.
Label every cabinet with measurements, including gaps, fillers, toe kicks, and overhangs. Note which units are wall, base, corner, or specialty cabinets.
Mark the locations of outlets, switches, vents, and lighting, since these features may affect replacement plans. Use a consistent scale, such as one square per inch, and add arrows to clarify dimensions.
Include notes about damage, uneven walls, or obstacles you uncover. This sketch supports design visualization and helps you compare options before ordering.
It also guides material selection by revealing exposed ends, trim requirements, and areas needing finished panels. Keep the drawing for installation reference.
Measure Base Cabinet Dimensions
Measure base cabinets from the floor up, noting each cabinet’s width, height, and depth. Record measurements in inches, rounding to the nearest 1/8 inch. Measure the cabinet box, not the countertop overhang, and check several points to catch uneven walls or floors.
Include fillers, end panels, toe-kick space, and gaps between units in your sketch.
- Measure width across the front, then confirm it at the back.
- Measure height from the finished floor to the cabinet’s top edge.
- Measure depth from the wall to the front face, excluding handles.
- Note doors, drawers, fillers, and appliances occupying nearby space.
Keep your tape level and your notes labeled by cabinet location. Measure the toe-kick height and depth separately, since these affect installation and clearance.
If cabinets have countertops, record their overhang independently. Also document the cabinet material and finish, as these details help match replacements or plan modifications.
Recheck every dimension before ordering, because small errors can create costly fitting problems.
Measure Wall Cabinet Dimensions
When measuring wall cabinets, record each unit’s width, height, and depth in inches to the nearest 1/8 inch. Measure the cabinet box, excluding doors, crown molding, light rails, and decorative panels.
For width, measure across the front from side to side. Check height from the cabinet’s bottom edge to its top, and measure depth from the front face to the back wall.
Take measurements at several points because walls and boxes may vary slightly. Note whether each cabinet sits alone or touches another unit, and label every measurement on a simple layout.
Record openings for shelves, appliances, or plumbing separately, without adding trim allowances. Identify the cabinet material, since wood, plywood, and engineered panels can affect weight and installation requirements.
Document the cabinet finishing, including paint, stain, laminate, or veneer, because added layers may change dimensions slightly. Photograph each cabinet and mark its location to keep your records accurate during ordering, replacement, or remodeling.
Check Walkway and Door Clearances
After recording cabinet dimensions, check the space around each unit to guarantee doors, drawers, and people can move freely. Measure the walkway between cabinets, islands, appliances, and walls. Leave enough room for comfortable passage, especially where two people may work or pass each other.
Open every nearby door and drawer to identify conflicts. Include refrigerator, oven, dishwasher, and pantry doors in your check, since their swing paths can reduce usable space. For reliable walkway safety, record the narrowest point with doors fully open.
- Measure the clear walkway from edge to edge.
- Mark each appliance’s complete door swing.
- Check opposing drawers for collisions.
- Confirm traffic won’t block an open appliance.
Use painter’s tape on the floor to outline cabinet faces and door swings. Walk through the taped layout, then open each appliance and cabinet as you would during daily use.
Adjust the layout if movement feels cramped or a handle creates a hazard. Keep these clearance notes with your project measurements for planning, without changing cabinet sizes yet.
Verify Every Cabinet Measurement
Verify every cabinet measurement before you finalize the layout or place an order. Recheck each wall’s length, height, and depth, then compare those figures with your drawing.
Confirm corner dimensions, ceiling height, window and door locations, appliance openings, and the positions of plumbing, outlets, vents, and trim. Measure from several points because walls and floors aren’t always perfectly level or square.
Review your notes against the manufacturer’s specifications, including the cabinet material and style. Different construction methods, face frames, door profiles, and finished ends can change usable space and clearance requirements.
Don’t assume two cabinets with the same listed width will install exactly the same. Mark every measurement’s starting point and label finished surfaces clearly.
Have another person check your work, especially tight clearances and filler requirements. If anything conflicts, measure again rather than guessing.
Keep your final measurements, sketches, product details, and installation notes together so you can verify them before purchasing and during installation. This careful review helps prevent costly changes, delays, and fitting problems.
Frequently Asked Questions
Can I Measure Cabinets Myself, or Should I Hire a Professional?
You can measure cabinets yourself if you’re comfortable working carefully and checking every dimension twice. Use reliable measurement tools, including a tape measure, level, pencil, and square.
Record wall lengths, ceiling height, openings, appliance spaces, and obstructions. However, hire a professional if your layout includes uneven walls, custom cabinetry, or expensive Cabinet materials.
A small mistake can cause costly ordering problems, while expert measurements can protect your budget and installation timeline.
How Much Does Professional Cabinet Measurement Typically Cost?
Professional cabinet measurement typically costs $100–$300 for a standard kitchen, though complex layouts or large homes may cost $400 or more. Some cabinet companies waive the fee when you purchase through them, so ask before scheduling.
You’ll get better cabinet measurement accuracy when a professional checks walls, corners, windows, appliances, plumbing, and floor levels. Ask whether the quote includes a detailed plan, site visit, revisions, and professional measurement tips for installation.
Should I Measure Before or After Choosing My Cabinet Style?
Measure before choosing your cabinet style, but treat your dimensions as preliminary. Accurate measurements help you understand available wall space, appliance clearances, and layout limitations, guiding your cabinet style selection.
After you choose specific cabinets, confirm everything with a final measurement because construction details, fillers, trim, and installation requirements can change dimensions. Good measurement timing prevents expensive mistakes and helps your designer create a practical, well-fitting kitchen plan.
What Should I Do if My Kitchen Walls Are Uneven?
If your kitchen walls are uneven, don’t assume standard measurements will work. Check wall unevenness by measuring each wall at several heights and marking the highest and lowest points.
Record corners, gaps, bulges, and out-of-plumb areas. Make measurement adjustments by using the smallest usable dimensions, allowing clearance for cabinets, and planning fillers where needed.
You should also confirm everything with a level and consult your installer before ordering cabinets, especially for significant irregularities or complex layouts.
How Often Should Kitchen Cabinet Measurements Be Updated?
Update your kitchen cabinet measurements whenever your space changes, not merely when time passes. Recheck them before remodeling, replacing doors, changing countertops, or installing new appliances; otherwise, review them every three to five years.
Uneven walls, settling, moisture, and worn cabinet material can alter fit. Use reliable measurement tools, and verify width, height, depth, clearances, and level lines twice.
If you notice gaps, warping, or shifting, measure again immediately before ordering anything.
Conclusion
With every wall, corner, opening, and appliance measured, you’ve built a reliable map for your kitchen transformation. Double-check each number before ordering—small errors can ripple like falling dominoes through your entire design.
Confirm cabinet depths, clearances, plumbing locations, and ceiling heights one final time. Then, you can move forward with confidence, knowing your measurements are solid.
Careful planning today lays the foundation for kitchen cabinets that fit beautifully and function smoothly for years.