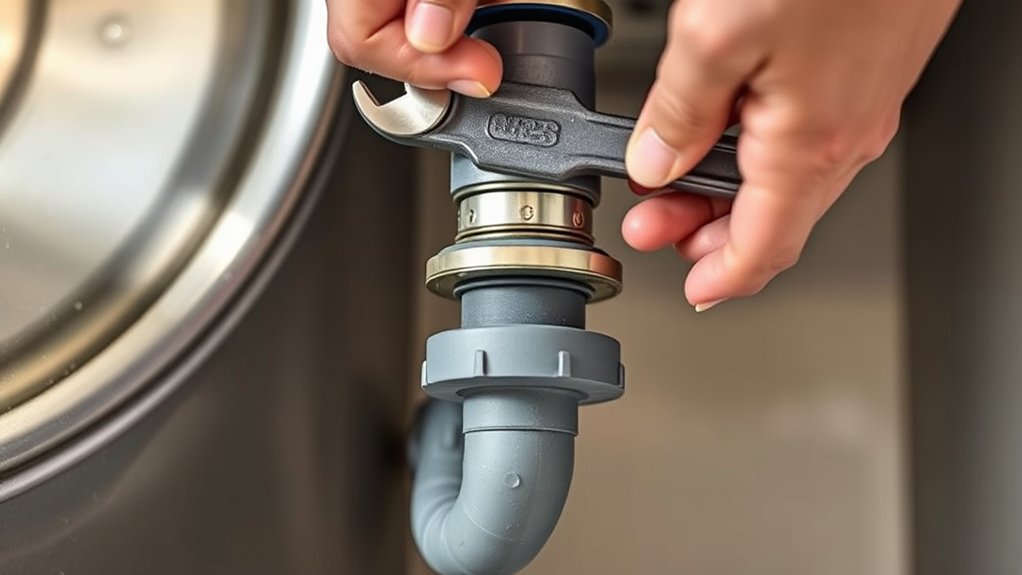
How to Remove a Kitchen Sink Drain in 3 Steps
A clogged or damaged kitchen sink drain can quickly turn a simple repair into a frustrating mess. You’re not alone—many people struggle with removing the drain without spilling water or damaging the sink. The right tools and a clear process can make the job much easier.
To remove a kitchen sink drain in three steps, first clear the cabinet, place a bucket underneath, and gather pliers, a wrench, and a screwdriver.
Next, loosen the slip-joint nuts, lower the trap, and remove the tailpiece. Unscrew the drain’s locknut, then push the flange up and out.
Finally, scrape away old putty, clean and dry the opening, and check for damage or uneven surfaces. The following guidance can help you complete each step safely and correctly.
Key Takeaways
- Clear the cabinet, place a bucket underneath, and gather adjustable wrenches, pliers, a screwdriver, and a rag.
- Loosen the slip-joint nuts, lower the trap, and disconnect the tailpiece from the sink drain.
- Remove the drain’s locknut underneath the sink. Then push the flange upward and lift it out.
- Scrape away old plumber’s putty, silicone, grime, and mineral deposits around the sink opening.
- Inspect the opening, flange, and gasket for damage. Make sure the surface is clean, flat, and dry.
Gather Tools and Secure the Work Area
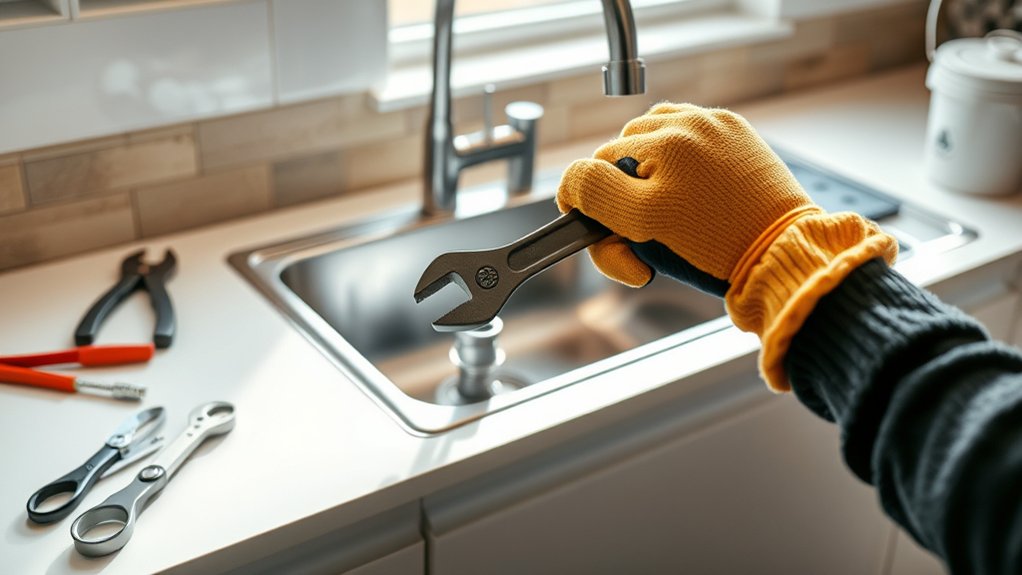
Before removing the drain, gather an adjustable wrench, channel-lock pliers, a basin or bucket, a screwdriver, plumber’s putty remover, and a rag. Check each tool before you begin. Sound handles and clean jaws support safer, more controlled work.
Your tool selection should match the drain hardware, so keep a flashlight nearby to identify fittings beneath the sink.
Clear the cabinet of cleaners, dishes, and stored items. Place the basin or bucket under the drain area to catch residual water, and spread a rag around it to protect the cabinet floor.
Clear the cabinet, place a basin beneath the drain, and protect the floor with a surrounding rag.
Open a window or switch on the cabinet light if visibility is poor. Wear safety glasses to shield your eyes from drips or debris, and use gloves if you have sensitive skin.
Safety precautions also include keeping the work area dry and informing anyone nearby that you’re working. Don’t force a tool or work around energized appliances. Unplug nearby equipment when practical.
Keep your phone accessible for assistance, but don’t let clutter interfere with your workspace.
Disconnect the Plumbing and Remove the Kitchen Sink Drain

Once the bucket is in place, loosen the slip-joint nuts connecting the drain trap to the sink drain and tailpiece. Turn them counterclockwise by hand, then use tongue-and-groove pliers if they’re tight.
Lower the trap carefully, allowing any remaining water to drain into the bucket. Remove the tailpiece from the drain assembly, if necessary.
Next, locate the large locknut beneath the sink that secures the drain flange. Hold the flange above the basin with one hand while turning the locknut counterclockwise with a pipe wrench or adjustable wrench.
If the nut won’t move, apply penetrating oil and wait several minutes before trying again. Protect the surrounding plumbing from excessive force.
After removing the locknut, push the drain flange upward from below. Lift it out of the sink, along with any rubber gasket or fiber washer.
If the flange resists, gently rock it back and forth. Set the removed parts aside for disposal or replacement. Avoid scraping the sink surface during removal.
Clean the Drain Opening and Check the Seal

With the drain flange removed, clean the sink opening and inspect its sealing surface. Start your Drain cleaning by removing old plumber’s putty, silicone, grime, and mineral deposits with a plastic scraper.
Don’t use a metal tool that could scratch porcelain, stainless steel, or composite material. Wipe the area with a damp cloth, then dry it completely.
- Examine the opening for chips, cracks, rust, or warped edges.
- Feel around the rim to find bumps that could prevent an even seal.
- Check the flange and rubber gasket for hardening, splits, distortion, or embedded debris.
- Replace damaged parts before installing the new drain assembly.
During your Seal inspection, hold a straightedge across the sink surface to confirm it’s flat. If buildup remains, apply a manufacturer-approved cleaner and scrub gently with a nonabrasive pad.
Rinse away residue and dry the opening again. A smooth, sound surface helps the replacement flange seat correctly and prevents leaks beneath the sink.
Frequently Asked Questions
Can I Remove a Kitchen Sink Drain Without Turning off the Water Supply?
Yes, you can remove a kitchen sink drain without turning off the water supply because the drain doesn’t connect directly to pressurized water lines. However, turn off the faucet and avoid using the sink while you work.
Residual water may spill, so place a bucket underneath and loosen the drain assembly carefully. Water pressure won’t affect the job, but shutting off the supply adds safety during drain cleaning if someone accidentally opens the faucet.
How Often Should a Kitchen Sink Drain Be Replaced?
You should replace a kitchen sink drain when it leaks, cracks, loosens, or shows heavy corrosion—not on a fixed schedule. Typically, a quality drain lasts 10–20 years, but harsh cleaners, standing water, and poor installation can shorten its life.
Watch beneath the sink as a dark drip gathers and cabinet wood swells. Regular drain cleaning helps, while pipe corrosion signals replacement sooner. Have a plumber inspect persistent leaks or damaged connections.
What Causes Recurring Leaks After Installing a New Sink Drain?
Recurring leaks after installing a new sink drain usually result from improper installation, damaged threads, loose connections, or a misaligned gasket. You might also overtighten the locknut, distort the washer, or apply plumber’s putty incorrectly.
Check that every surface stays clean, the gasket sits flat, and connections remain properly aligned. For leak prevention, hand-tighten components before carefully securing them, then run water and inspect each joint for dripping.
Are All Kitchen Sink Drains Compatible With Garbage Disposals?
No, all kitchen sink drains aren’t compatible with garbage disposals. Coincidentally, the drain opening may look identical while the sink’s flange, thickness, or mounting design differs.
For proper drain compatibility, you’ll need a disposal-specific flange that matches your sink and unit. Standard basket strainers usually won’t attach directly.
Check the manufacturer’s specifications before buying, and confirm whether your sink uses a 3½-inch opening, the common size for most modern garbage disposals.
When Should I Call a Professional Plumber for Drain Removal?
Call a professional plumber when the drain won’t loosen, connections look corroded, or you risk damaging the sink, pipes, or garbage disposal. You should also seek help if you identify leaks, hidden pipe damage, sewage odors, or persistent backups after DIY troubleshooting.
For emergency repairs, contact a plumber immediately when water floods cabinets, a pipe bursts, or wastewater overflows. Don’t force seized fittings; professional tools and experience can prevent costly damage and restore safe drainage.
Conclusion
With the plumbing disconnected, you can remove a kitchen sink drain safely and confidently. Clean the opening, inspect the surfaces, and check the seal before installing a replacement.
Work carefully, protect the cabinet, and keep your tools organized to prevent leaks and damage. By following these three steps, you’ll finish the job efficiently and restore proper drainage.
Take your time, follow the instructions, and enjoy your successful repair.