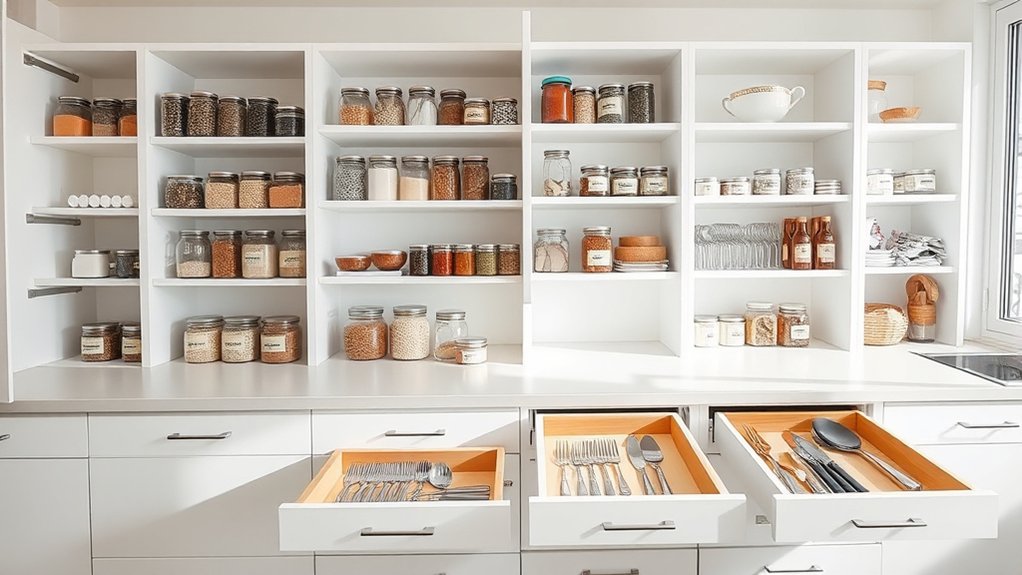
How to Organize Kitchen Cabinets and Drawers in 3 Steps
If your kitchen cabinets and drawers are overflowing, you’re not alone. Many people struggle to keep everyday essentials organized, especially when limited space makes cooking and cleanup feel harder than they should. The right storage products can help create order and make your kitchen easier to use.
Organize kitchen cabinets and drawers in three steps. First, empty everything, group similar items, discard expired or broken items, and wipe surfaces.
Next, create zones for prep, cooking, baking, coffee, and cleanup, keeping daily essentials within easy reach.
Finally, add shelf risers, drawer dividers, bins, lazy Susans, and vertical racks that fit your space. Label pantry containers and leave room for removal. These simple systems make every task smoother, as the following tips show.
Key Takeaways
- Empty cabinets and drawers, discard expired or unused items, and wipe surfaces before reorganizing.
- Group similar items and assign each category a specific cabinet, drawer, or storage container.
- Keep frequently used essentials within easy reach and store occasional items higher or farther back.
- Create task-based zones, placing cookware near the range, prep tools near counters, and coffee supplies near the machine.
- Use dividers, risers, bins, lazy Susans, and labels to maximize space and simplify access.
Start Organizing Kitchen Cabinets and Drawers
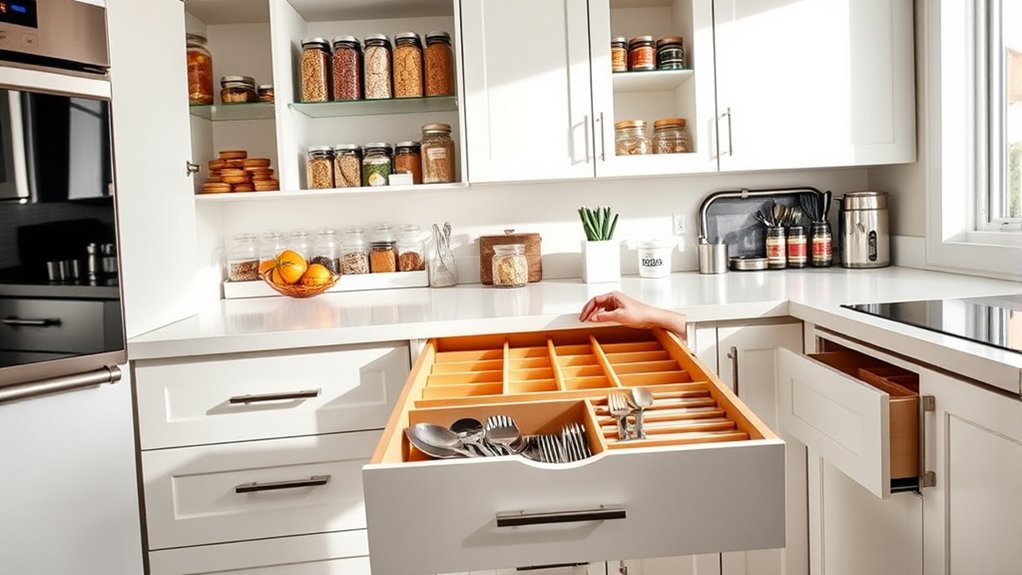
Before you organize, empty each cabinet and drawer completely so you can see what you have. Group similar items on a clean counter, then discard expired food, broken tools, duplicates, and anything you never use. Wipe every interior surface before returning belongings.
Next, assess how often you reach for each item. Keep daily dishes, glasses, cookware, and pantry essentials easy to access, while placing occasional items higher or farther back.
Use shelf risers, bins, and drawer dividers to prevent stacks from collapsing and to keep small pieces visible.
Give every category a specific home. Arrange plates with plates, baking supplies with baking supplies, and food containers beside their matching lids.
Pay attention to utensil placement. Separate cooking tools from eating utensils, and position frequently used pieces near your primary preparation area.
Leave a little open space so you can remove items without shifting everything else. Label containers if several categories look alike, and return only what supports your routine.
Create Kitchen Zones for Everyday Tasks
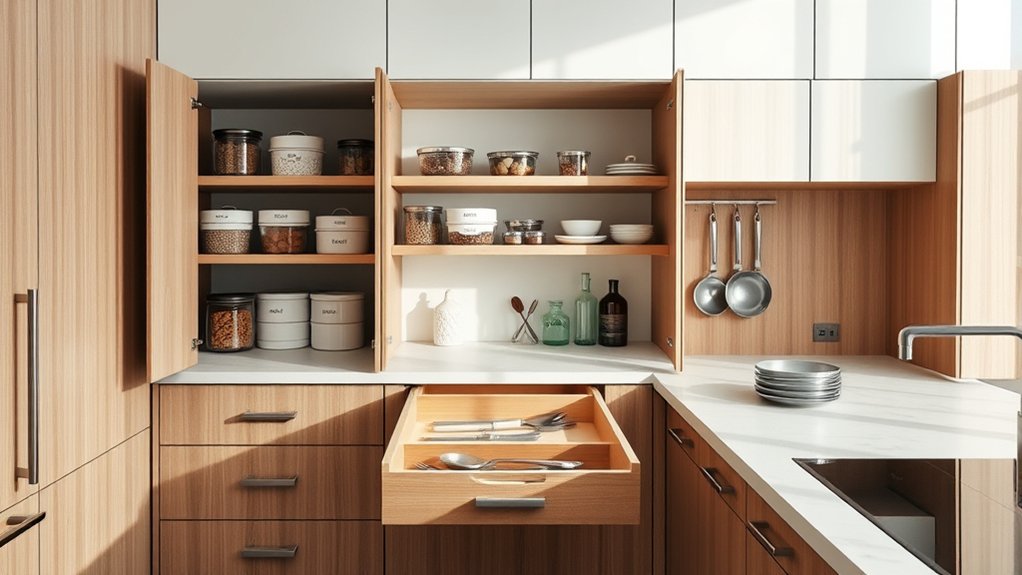
Create zones around the tasks you perform most often, such as food prep, cooking, baking, coffee-making, and cleanup. Store each task’s supplies near its point of use, so you won’t cross the kitchen repeatedly.
Keep pantry essentials near your main prep area, place cookware beside the range, and gather coffee supplies near the machine. Use utensil grouping to keep tools for each activity together, rather than scattering them across several drawers.
| Zone | Keep nearby | Best location |
|---|---|---|
| Prep | Knives, boards, bowls | Counter cabinets |
| Cooking | Pans, spices, oils | Range cabinets |
| Coffee | Beans, filters, mugs | Machine cabinet |
Reserve a cabinet or drawer for baking ingredients and tools if you bake regularly. Position cleanup supplies under or beside the sink, while keeping everyday dishes near the dishwasher or dining area.
Think about your natural movement through the room, then assign homes that reduce extra steps. Label zones mentally, and return items to their task area after each use.
This simple layout keeps your kitchen efficient without crowding surfaces.
Add Organizers for Easy Access
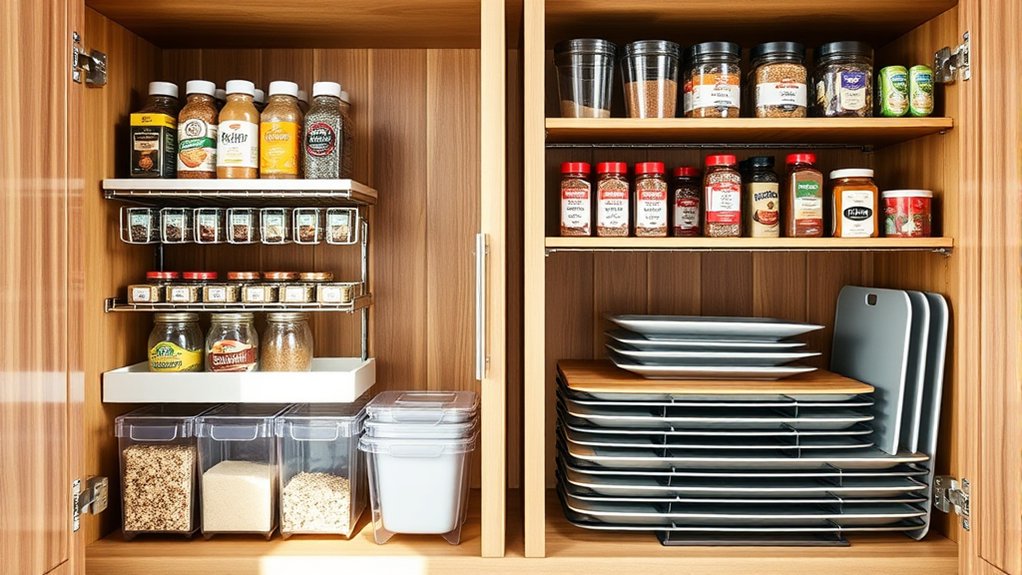
Choose organizers that match how you use each cabinet or drawer, rather than forcing every space into the same system. Add a lazy Susan to corner cabinets so you can reach oils, sauces, and canned goods without unloading shelves. Use stackable risers to give plates, bowls, or cans a second level, and install a pull-out bin for heavy appliances or cleaning supplies.
In deep drawers, place Drawer dividers to separate utensils, measuring tools, and cooking gadgets. Adjust the sections as your routines change, so frequently used items stay within easy reach.
Group pantry staples in clear bins, then add Pantry labels that identify contents and expiration categories at a glance. Use a vertical rack for baking sheets, cutting boards, and trays instead of stacking them flat.
Keep small containers, lids, and wraps in narrow compartments to prevent clutter. Before buying more organizers, measure each space and leave enough room to remove items comfortably. Your system should make putting things away as simple as finding them.
Frequently Asked Questions
How Often Should I Reorganize My Kitchen Cabinets and Drawers?
You should reorganize your kitchen cabinets and drawers every three to six months, or whenever items become difficult to find. Do a quick weekly reset by returning everything to its place, then schedule a deeper seasonal review.
Check expiration dates, donate unused tools, and group Pantry essentials together. Replace mismatched Storage containers and adjust locations as your cooking habits change.
Reorganize sooner after renovations, holidays, or major grocery-shopping changes to keep your kitchen efficient.
What Should I Do With Expired or Unused Kitchen Items?
Start with the darkest corner of your pantry: expired items may hide behind newer groceries, waiting to cause waste or illness. Check every date, then discard anything spoiled, moldy, or unsafe.
Donate unopened, unexpired food you won’t use. For unused kitchen tools, keep only pieces you regularly reach for; sell, donate, or recycle the rest.
Before letting anything go, ask whether you’ve used it within a year and whether you realistically will.
How Can I Organize a Small Kitchen With Limited Storage?
Use vertical space with shelf risers, stackable bins, and wall-mounted racks to create smart storage. Install hooks inside cabinet doors for measuring cups, utensils, or pot lids.
Choose stackable cookware and nesting bowls to maximize space. Store everyday items within easy reach, then place occasional tools higher or farther back.
Use drawer dividers to prevent clutter, and add a rolling cart or slim shelf when you need extra prep and storage space.
Which Materials Are Best for Durable Cabinet and Drawer Organizers?
Stainless steel and solid wood form a sturdy backbone for cabinet and drawer organizers. Choose stainless steel for moisture resistance, easy cleaning, and long-term strength; select bamboo or hardwood for warmth, renewability, and dependable load-bearing.
Avoid thin plastic, which can crack under heavy cookware, though sturdy recycled plastic suits damp areas. Material comparisons help you balance cost and performance.
Durability assessments should consider weight, humidity, hardware quality, and daily use before you buy.
How Can I Childproof Organized Kitchen Cabinets and Drawers?
Start with Child safety by moving knives, cleaners, medicines, and breakables into high, locked storage. Install sturdy locking mechanisms on every low cabinet and drawer, choosing models that adults can operate easily but toddlers can’t defeat.
Secure freestanding cabinets to the wall, cover sharp corners, and keep stools out of reach. Test each latch regularly, avoid placing tempting items near edges, and teach children which storage areas they must never open.
Conclusion
With a few intentional changes, you can turn cluttered cabinets and drawers into an efficient kitchen that supports your daily routines. Group items by task, keep frequently used tools within reach, and use organizers to make every inch count.
You’ll also waste less food when you can see what you have—research suggests households discard roughly one-third of the food they buy. Once everything has a home, maintaining order takes only a few minutes each day.
By following these kitchen cabinet and drawer organization tips, you can create a more functional space that stays tidy with minimal effort.